Heading
We didn't find any video based upon your search term.
No item found.
| Title | Duration | Action |
|---|---|---|
No videos found.
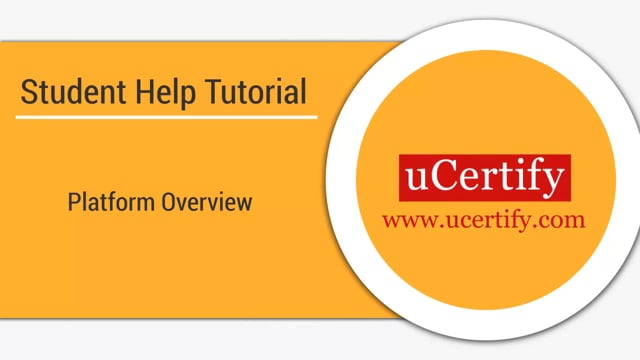
Time Duration
10:44
uCertify Platform Overview

Time Duration
00:48
How to sign up at uCertify
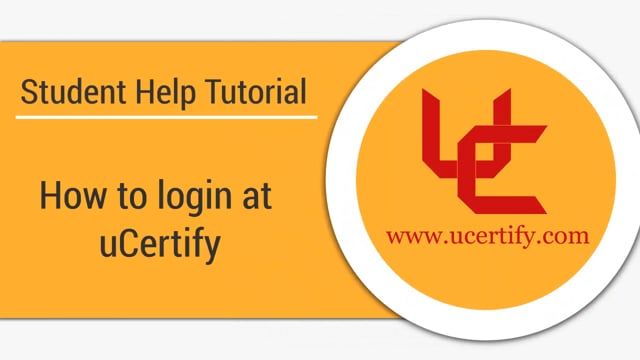
Time Duration
01:40
How to login at uCertify
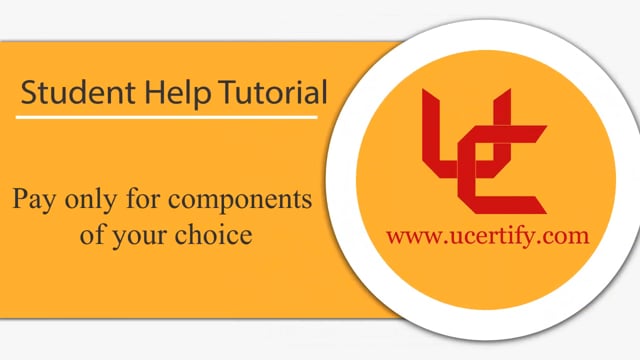
Time Duration
01:02
Pay only for components of your choice
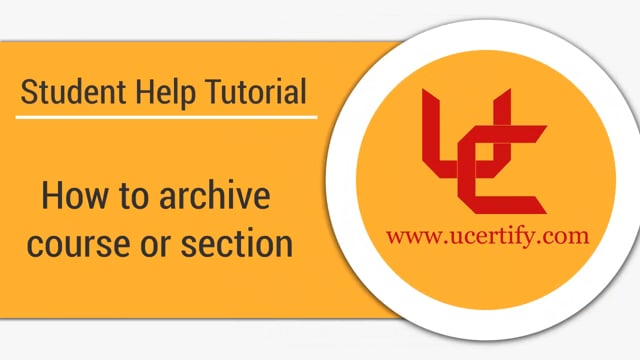
Time Duration
00:44
How to archive course or section

Time Duration
00:43
How to link with your instructor

Time Duration
01:04
How to manage profile
Time Duration
01:47
Study planner and its use
Time Duration
01:22
How to attempt the Flashcards and its use

Time Duration
00:40
How to bookmark, confidence, and notes
Time Duration
00:45
How to annotate
Time Duration
01:12
How to manage settings
Time Duration
01:10
Dashboard and its feature
Time Duration
00:43
Interactive Transcripts and its use
Time Duration
00:56
How to search titles
Time Duration
10:44
uCertify Platform Overview
Time Duration
00:48
How to sign up at uCertify
Time Duration
01:40
How to login at uCertify
Time Duration
01:02
Pay only for components of your choice
Time Duration
00:44
How to archive course or section
Time Duration
00:43
How to link with your instructor
Time Duration
01:04
How to manage profile
Time Duration
01:47
Study planner and its use
Time Duration
01:22
How to attempt the Flashcards and its use
Time Duration
00:40
How to bookmark, confidence, and notes
Time Duration
00:45
How to annotate
Time Duration
01:12
How to manage settings
Time Duration
01:10
Dashboard and its feature
Time Duration
00:43
Interactive Transcripts and its use
Time Duration
00:56
How to search titles